Heart Garland
I love a good festive garland for the holidays. Now, Valentines Day may not be the biggest or most important of holidays out there, but it is one of the prettier ones. All the pinks and reds, lace and ribbons, flowers and chocolates really speak to my womanly attributes. So, I like to decorate a little bit for this pretty, girly holiday of love. I made this garland a few years back as a birthday decoration for a friend. It was my first time making any kind of garland and it turned out super cute. I also found it is very versatile as it can go with numerous events/holidays (bridal, valentines, birthdays). And it was so EASY to make! It only took me like 30 minutes to put it all together. In the end I had a fun, pretty heart garland using materials I already had on hand (so basically it was free).
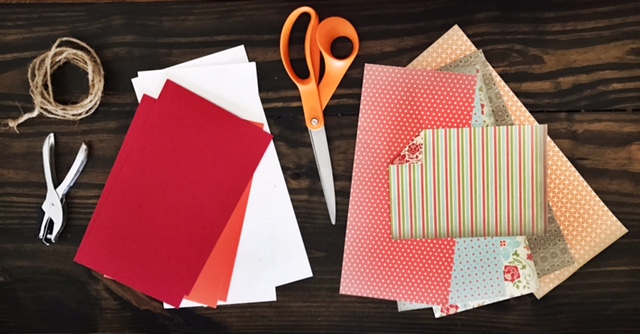
Here's what you'll need:
- twine/string
- hole punch (not a bigger hole than the string you're using)
- paper (double sided patterned & plain)
- scissors
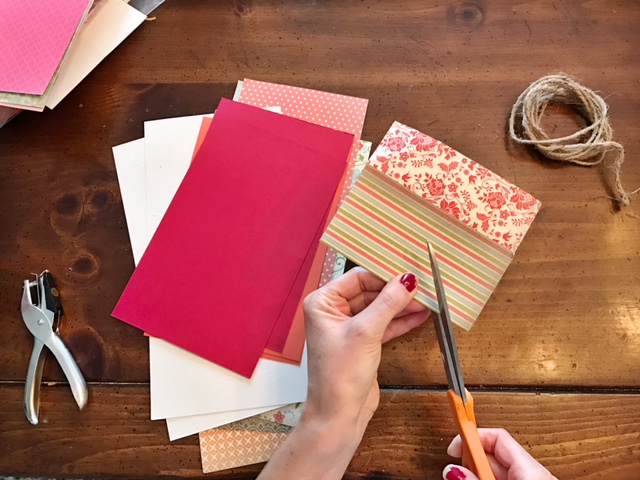
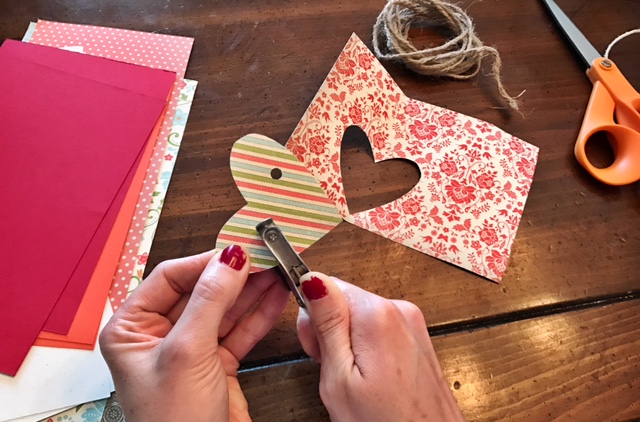
Next, you'll want to cut out the hearts. I didn't use a pencil to trace the side of the heart because it's not about being perfect and it's kind of a waste of time. Just fold the paper in half, and cut one side of the heart.
When you open your cut out, it should look like this - a whole heart with 2 perfectly symmetrical sides :) Then, you'll want to punch two holes in the center of the heart. You don't want them too close together, but you also want to leave enough room at the ends so the string wont tear through.
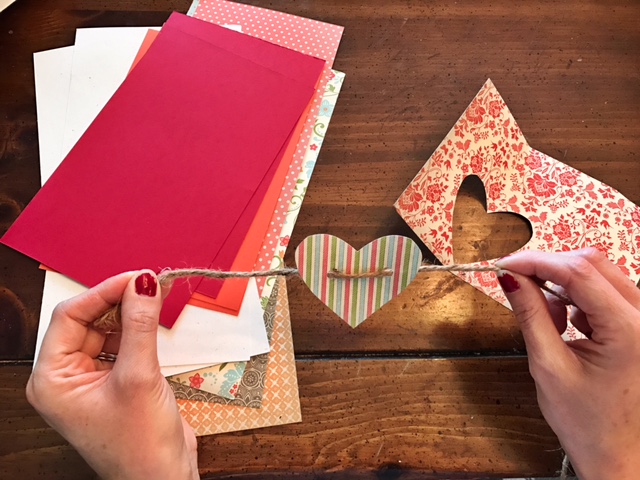
Finally, you're ready to put your heart on your string! Now just repeat these steps till you have the desired length of garland that you want. For me, I found it easier and faster to pre-cut all my hearts, and then add them all to the string at the same time. Then, if I needed more, I could always go back and add some.
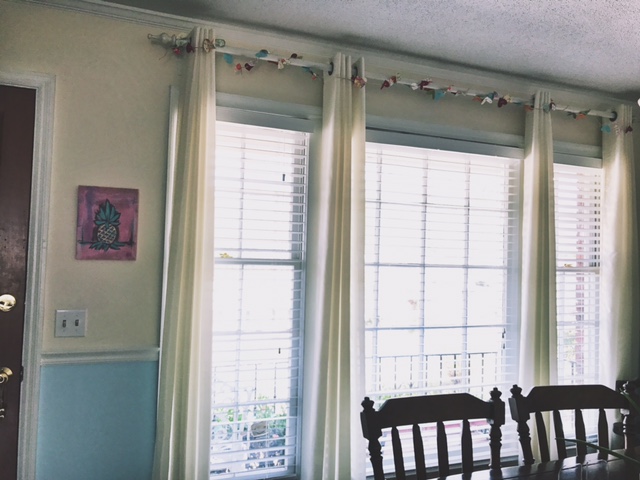
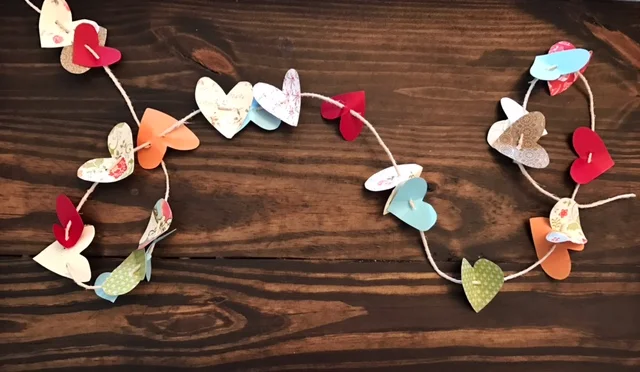
Finished product, a beautiful and fun heart garland for all your decorating needs that you can be proud of because you made it yourself <3
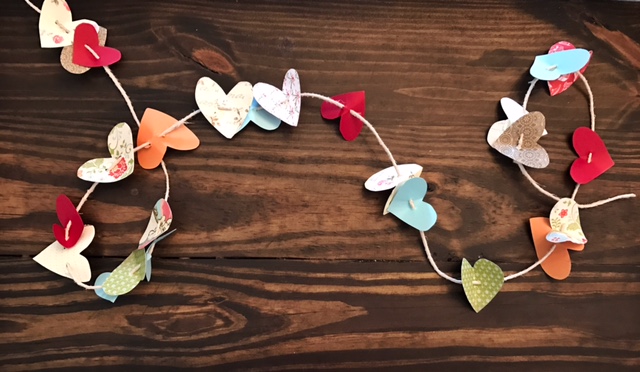
I like to hang mine in my dinning room because that's where it will get the most notice and use. I didn't chose the colors to specifically go with anything, so thank goodness they coordinate with what my color scheme in the dinner room is ! It's so festive to have it near the table where we will be sharing our Valentine's dinner together as a family. It may not be the most romantic setting, but it's a little bit more fun and festive because of this garland. And, I don't have to feel bad about wasting money on costly decorations (like I do for other big holidays) because this literally cost me nothing! Now I have a fun garland that will last me for many ocassions and years to come. <3 Amanda